Your roof is your home’s first line of defense against the elements. Whether it’s scorching heat, pounding rain, snowstorms, or high winds, your roof shields your interior from damage. However, like any part of your home, it needs regular maintenance to remain in good condition. Ignoring roof upkeep can lead to costly repairs—or worse, a premature replacement.
That’s why a roof inspection checklist is essential. With routine checks and timely fixes, you can extend the lifespan of your roof and avoid expensive surprises. In this article, we’ll guide you through a comprehensive, easy-to-follow inspection checklist to keep your roof in top shape year after year.
Why Roof Inspections Matter
Many homeowners overlook roof inspections until a leak or visible damage occurs. But by then, it might be too late. Here’s why proactive inspections are crucial:
- Prevent costly repairs: Early detection helps fix minor issues before they escalate.
- Boost your home’s value: A well-maintained roof is a major selling point.
- Enhance energy efficiency: A solid roof insulates your home better, lowering utility bills.
- Ensure safety: A damaged roof can collapse or lead to mold, posing health hazards.
Bottom line: regular inspections protect both your home and your wallet.
When Should You Inspect Your Roof?
While many professionals recommend a roof inspection twice a year—once in the spring and once in the fall—you should also inspect after major weather events such as:
- Heavy rains
- Windstorms
- Hailstorms
- Snow and ice accumulation
These conditions can cause sudden, sometimes hidden, damage that worsens if left unchecked.
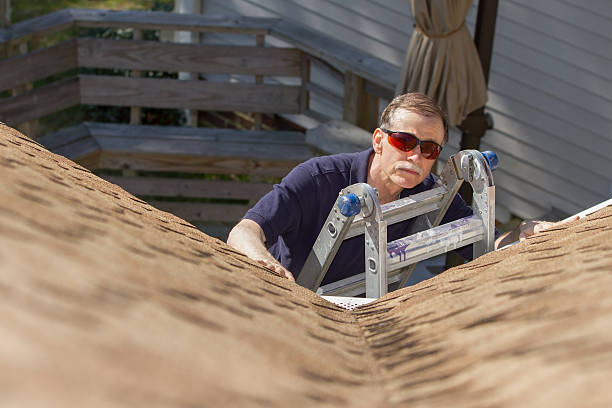
DIY vs. Professional Roof Inspections
You don’t always need to climb a ladder to check your roof’s condition. Visual inspections from the ground, binoculars, or even drones can help spot issues. However, professional inspections are recommended at least once a year, especially if:
- Your roof is older than 10–15 years
- You’ve recently bought or are selling the house
- You’ve experienced severe weather
Professionals can identify subtle issues a layperson might miss, such as improper flashing, internal leaks, or compromised structural elements.
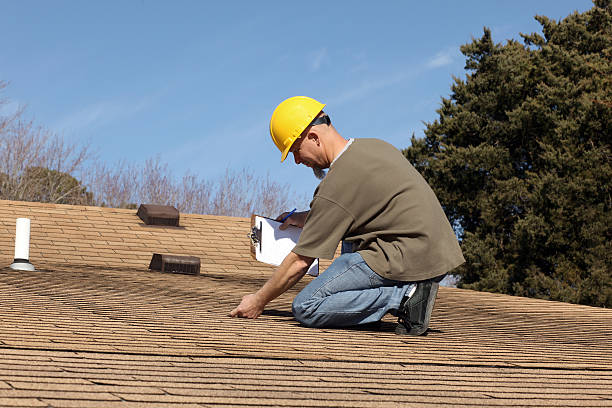
The Ultimate Roof Inspection Checklist
Now, let’s dive into the full roof inspection checklist, covering exterior and interior components.

1. Check for Missing or Damaged Shingles
Start with the basics: examine your shingles.
✅ Are any shingles missing, cracked, curling, or blistering?
✅ Do they appear to be lifting or loose?
✅ Is there excessive granule loss (you might see it in gutters or downspouts)?
Damaged shingles can let water in and should be replaced immediately.
2. Inspect Flashing and Roof Valleys
Flashing is the metal sealing around chimneys, skylights, and vents. Roof valleys are where two slopes meet—critical for water runoff.
✅ Is the flashing corroded, loose, or bent?
✅ Is there debris buildup in roof valleys?
✅ Are there signs of rust or water stains?
Improper sealing here is one of the most common causes of roof leaks.
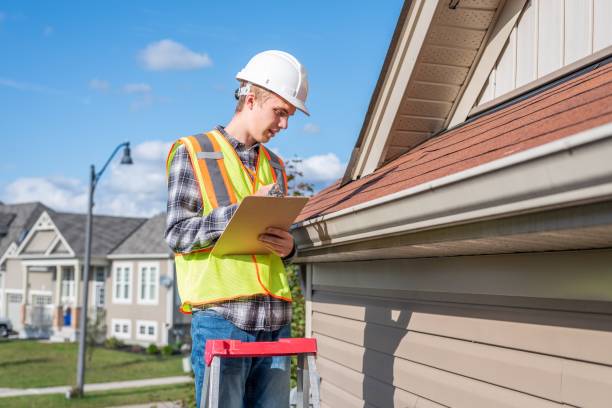
3. Look at the Gutters and Downspouts
Gutters aren’t just for aesthetics—they redirect water away from your roof and foundation.
✅ Are gutters securely attached and free of debris?
✅ Are downspouts directing water away from your home’s base?
✅ Do you see roofing granules (a sign of aging shingles)?
Clean gutters regularly and check for sagging or disconnected sections.
4. Examine Roof Penetrations
This includes any element sticking through your roof—vents, chimneys, skylights, and pipes.
✅ Is the sealant around these areas cracked or missing?
✅ Are any parts rusted, wobbly, or loosely fitted?
✅ Is there any moisture staining or rot around them?
Penetrations are high-risk areas for leaks and need tight sealing.
5. Check for Moss, Algae, or Mold
Growths on your roof may look harmless but can be a sign of trapped moisture.
✅ Is there green or black discoloration on the shingles?
✅ Are moss patches lifting your shingles?
✅ Is there visible mold near gutters or vents?
Use roof-safe cleaners and avoid pressure washing, which can damage the material.
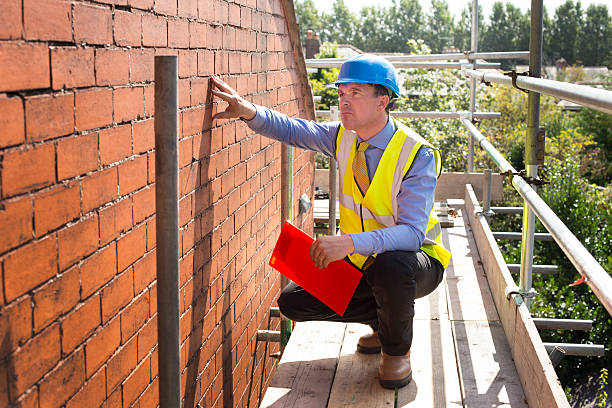
6. Evaluate the Roof’s Structure
From the ground or attic, assess your roof’s overall shape and stability.
✅ Is there any noticeable sagging or unevenness?
✅ Do you hear creaking during wind or storms?
✅ Are the support beams in your attic intact?
Structural sagging may indicate major damage or internal rot and requires professional attention.
7. Inspect Attic and Interior Ceilings
Sometimes, the first signs of a roofing issue appear inside.
✅ Are there brown stains or peeling paint on your ceiling?
✅ Do you see mold growth in the attic or feel musty odors?
✅ Is insulation damp or discolored?
Leaks often reveal themselves in attics before becoming visible on ceilings.
8. Check Ventilation and Insulation
Poor attic ventilation can overheat your roof and accelerate shingle damage.
✅ Are soffit vents and ridge vents clear and functional?
✅ Is your attic insulation dry and evenly spread?
✅ Do you notice condensation inside?
Proper ventilation extends your roof’s lifespan and keeps energy bills down.
Common Roof Inspection Mistakes to Avoid
Even well-meaning homeowners can overlook key details. Here are some common mistakes:
- Only checking visible areas and ignoring hidden or hard-to-reach spots
- Forgetting to inspect after major weather events
- Walking directly on the roof and causing damage
- Relying solely on DIY inspections without professional input
Avoid these pitfalls by using a full checklist and calling a pro when needed.
When to Call a Roofing Professional
If your inspection turns up any of the following, it’s time to contact a roofing contractor:
- Persistent leaks or ceiling stains
- Large sections of missing or damaged shingles
- Sagging roofline
- Mold or rot in attic insulation
- Uncertainty about the issue’s severity
A licensed roofer can assess the damage, suggest repairs, and help you determine if a roof replacement is needed.
Final Thoughts: Protect Your Investment
A roof inspection isn’t just another item on your to-do list—it’s a smart, cost-effective way to protect your biggest investment: your home.
By conducting regular inspections using the checklist above, you can:
- Spot problems early
- Avoid expensive repairs
- Extend the life of your roof
- Ensure safety and comfort for your family
Don’t wait for a leak to force your hand. Take a proactive approach and schedule your next roof inspection today.
FAQs About Roof Inspections
How much does a professional roof inspection cost?
Typically, between $150 to $400, depending on the home size and location. Some companies offer free inspections with repair services.
How long does a roof inspection take?
Most inspections take 45 minutes to 2 hours. Larger homes or complex roofs may take longer.
Can I inspect my roof without climbing up?
Yes! Use binoculars or drones to safely inspect your roof from the ground. For a detailed look, hire a professional.